What to Pack in Your Pet’s Emergency Kit: Essential Supplies Checklist
I’ll never forget the morning I woke up to evacuation orders. Wildfire smoke had turned the sky orange, and we had maybe 45 minutes to get out. My dog Charlie was looking at me with those trusting eyes, and I realized I had no idea where his vaccine records were, how much food we actually had, or even if his carrier was still in the garage. We made it out okay, but I spent the next week at my sister’s place mentally kicking myself for being so unprepared.
Here’s the thing: only about 17-23% of pet owners have any emergency plan in place. That’s wild when you consider that 67% of U.S. households have pets. And climate-related disasters requiring evacuation? They’ve jumped 40% between 2020 and 2024. Wildfires, hurricanes, flooding—these aren’t rare anymore.
So let me walk you through what actually needs to go in your pet’s emergency kit. Not the theoretical stuff, but the supplies you’ll really need when things go sideways. FEMA recommends having 3-7 days of supplies ready to grab, and honestly, after my experience, I’d aim for the higher end of that range.
1. Food and Water (The Non-Negotiables)
Start with at least a 3-day supply of your pet’s regular food in airtight, waterproof containers. But honestly? Go for a week if you can swing it. I keep Charlie’s food in those thick Ziploc bags inside a hard plastic bin, because regular bags can get punctured or wet, and suddenly you’re dealing with a hungry, stressed dog on top of everything else.
Water’s the big one though. FEMA says one gallon per pet per day, minimum three days’ worth. That’s three gallons for one dog or cat. If you’ve got multiple pets, do the math. It’s heavy and awkward, but dehydration happens fast during emergencies when you’re distracted and stressed.
Don’t forget collapsible bowls—they take up almost no space and you’ll need something to actually serve food and water in. I learned this the hard way when I realized I’d packed food but nothing to put it in. Pro tip: grab a manual can opener too if your pet eats canned food. Power’s often out during emergencies, and those electric ones are useless.
2. Medications and Medical Records
This is the most commonly forgotten item, and it can literally be life-threatening. If your pet takes any prescription medications, keep at least a two-week supply in your emergency kit. Rotate them regularly so they don’t expire. I set a phone reminder every three months to check Charlie’s heartworm pills and arthritis meds in the kit.
Even more important: documentation. Keep copies of vaccination records, microchip information, and medical history in a waterproof sleeve or bag. Since the PETS Act passed in 2006, emergency shelters receiving federal funding have to accept pets, but they absolutely will turn you away if you can’t prove vaccinations. Trust me, you don’t want to be scrambling for your vet’s contact info while evacuation traffic is backing up.
Here’s something that’s helped a ton: I take photos of all Charlie’s paperwork and keep them in a dedicated album on my phone. Digital copies increase reunification success rates by about 60% when physical documents get lost. Also save your vet’s contact information, after-hours emergency vet numbers, and the Pet Poison Helpline (855-764-7661) in your phone. When you’re asking questions during your annual vet checkup, request digital copies of everything.
3. Identification and Recent Photos
Microchips are great—they increase return rates by 238% for dogs and a staggering 2,000% for cats compared to non-microchipped pets during disasters. But here’s the catch: fewer than 60% of microchips have updated contact information. When was the last time you checked yours? Mine was still showing an address from two moves ago.
Pack multiple recent photos of your pet from different angles. Not just the cute Instagram shot—get ones showing distinctive markings, scars, or unique features. Print a few copies and keep digital versions easily accessible. I’ve got probably twenty photos of Charlie on my phone tagged “Emergency ID” so I can pull them up instantly.
Make sure your pet’s collar has current ID tags with your cell number. But here’s the thing about collars: they can fall off. That’s why the microchip matters so much. And nowadays, GPS tracking collars have become more affordable—I finally got one for Charlie last year, and it broadcasts emergency contact info if he gets out of range. Little pricey, but worth it for peace of mind.
4. Secure Carrier or Crate
You need a sturdy, well-ventilated carrier or crate for each pet, even if you think your dog will just ride in the car like always. During an actual emergency, animals get spooked and behave unpredictably. Charlie, who normally rides loose in the backseat, completely freaked out during our evacuation and tried to jump out when I opened the door at a gas station.
For cats, a carrier is absolutely mandatory. For dogs, you’ve got options—either a crate or a sturdy carrier depending on size. Make sure it’s big enough for your pet to stand, turn around, and lie down comfortably. They might be in there for hours.
Label the carrier clearly with your contact information, your pet’s name, and any medical needs. I use a luggage tag and also wrote directly on Charlie’s crate with permanent marker. Practice getting your pet comfortable with the carrier now, before an emergency. Do some trial runs, feed meals in there, make it a positive space. You do not want your first attempt at carrier training to happen while smoke’s rolling in or flood waters are rising.
5. Leashes, Harnesses, and Waste Supplies
Pack at least two leashes—one regular and one spare. I keep a slip lead in the kit too, because they’re nearly impossible to escape from if your pet’s collar breaks or comes off. A sturdy harness is better than a collar for anxious or panicky pets who might try to back out and bolt.
For cats, you probably don’t walk them regularly, but you’ll still need a harness and leash for safe transport between car and shelter or hotel. Don’t assume the carrier alone is enough—you’ll need to get them out for vet checks or cleaning the carrier.
Waste management might not sound exciting, but you’ll be dealing with it multiple times a day. Pack plastic bags for dogs, and for cats, include a small disposable litter box or aluminum pan plus litter (those lightweight, dust-free varieties work well). Paper towels, pet-safe disinfectant, and a small dustpan have all been lifesavers. Nobody wants to discuss this until you’re stuck in a hotel room with no way to handle your cat’s business.
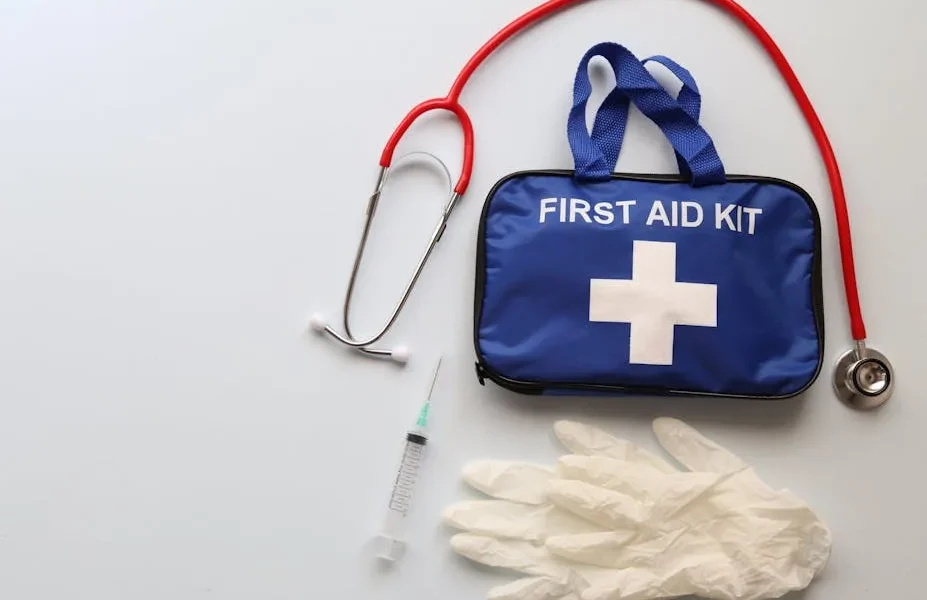
6. First Aid Kit and Grooming Supplies
A basic pet first aid kit should include gauze pads, adhesive tape, tweezers, scissors, a digital thermometer, antiseptic wipes, and a pet first aid manual. You can buy pre-made kits or assemble your own. I went the DIY route and probably spent about $30 on supplies from the drugstore.
Know what’s normal for your pet before an emergency hits. What’s their typical temperature? How do you check capillary refill time? If you’re not sure how to use most first aid supplies, ask during your next vet visit. Most vets are happy to do a quick demonstration.
Don’t forget basic grooming supplies either: brush, nail clippers, pet-safe shampoo. If you’re displaced for a week or more, you’ll need to maintain basic hygiene. Charlie gets absolutely miserable if his nails get too long, and I learned that lesson when we were staying with family and I hadn’t packed clippers. Also throw in some pet-safe wipes for quick cleanups.
7. Comfort Items and Toys
This might seem less critical than food or medicine, but it’s really not. Familiar items with your home’s scent help reduce anxiety-related health issues during displacement. For Charlie, that’s his nasty old rope toy that I’ve tried to throw away a dozen times and his blanket that desperately needs washing but apparently smells like home.
Pack a couple of favorite toys, a blanket or bed, and maybe an item of your worn clothing. The familiar scents genuinely help. During our evacuation, having that rope toy kept Charlie from stress-panting himself into exhaustion. Stressed pets don’t eat well, don’t sleep well, and are more prone to illness—comfort items actually matter for their physical health.
If your pet has anxiety issues normally, talk to your vet about keeping calming supplements or even a small supply of anti-anxiety medication in your emergency kit. Don’t wait until you’re evacuating to realize your pet needs pharmaceutical help to cope.
8. Important Documents and Contact Information
Beyond medical records, you need proof of ownership. Adoption papers, purchase receipts, pedigree papers if you have them—basically anything proving the pet is yours. During chaotic emergencies, pets sometimes get separated and picked up by well-meaning people or animal control, and you’ll need documentation to reclaim them.
Keep a list of pet-friendly hotels along your likely evacuation routes. Save the contact info for emergency boarding facilities. Write down your regular vet’s number, emergency vet clinics, and your pet’s insurance information if you have coverage. Also note any trusted friends or family who could take your pet if you can’t keep them with you.
Here’s something I added after last year: photos of your pet with you. Sounds weird, but it helps prove ownership if your pet ends up at a shelter or with animal control. A picture of you actually with your pet is stronger evidence than just a photo of the pet alone.
Putting It All Together (And Actually Maintaining It)
So how much does all this cost? You can assemble a basic emergency kit for under $100 if you’re strategic. Hit the dollar store for containers and basic supplies, use what you already have when possible, and build it gradually. Or you can buy pre-made pet emergency kits for $150-200, though honestly, assembling your own means you can customize it for your specific pet’s needs.
Store everything in a waterproof bin or duffel bag that you can grab quickly. Keep it somewhere accessible—not buried in the back of a closet or up in the attic. I keep Charlie’s kit in the garage right next to the door to the house. My car also has a smaller kit with three days of supplies that live there permanently.
Set reminders to check your kit twice a year—I do mine when we change the clocks for daylight saving time. Rotate food and medications, update photos as your pet ages, refresh water, check that batteries in any flashlights still work. Add or remove seasonal items: cooling mat for summer, extra blanket for winter, booties if you’re in an area with wildfire smoke concerns.
Look, I really hope you never need this kit. But the reality is that emergencies happen, and they happen fast. You won’t have time to run around gathering supplies while evacuation orders are blaring. The few hours I spent putting together Charlie’s emergency kit after our scare? Best investment I’ve made in his safety. And knowing it’s ready to go means I sleep better at night. Your pets depend on you to plan ahead—they can’t do it themselves. Get that kit together this weekend, update those microchip records, and take one less thing off your worry list.
This article is for educational purposes only and does not substitute for professional veterinary advice, diagnosis, or treatment. Always consult your veterinarian with questions about your pet's health.